If you are anything like me the idea of a romantic, candle lit dinner just sounds romantic and beautiful. It’s the perfect amount edgy and classy and can fit almost any aesthetic! The problem is; how can I bring the wedding of my dreams to life when I’m on a budget; I am worried about good photographs or my venue doesn’t let me use open flames? Here are a few tips to help you bring your vision to life; while still working within your concerns or budget and venue constraints.
1. Hunting Down Budget Candles: Amazon.com is going to be your friend
Candles can be expensive, but they don’t have to be. Hitting the shelves at Target, Marshalls or Home Goods can offer a lot of options, but the prices start stacking up pretty fast and it can be pretty quick between a small portion of your decorating budget and the ENTIRE decorating budget.
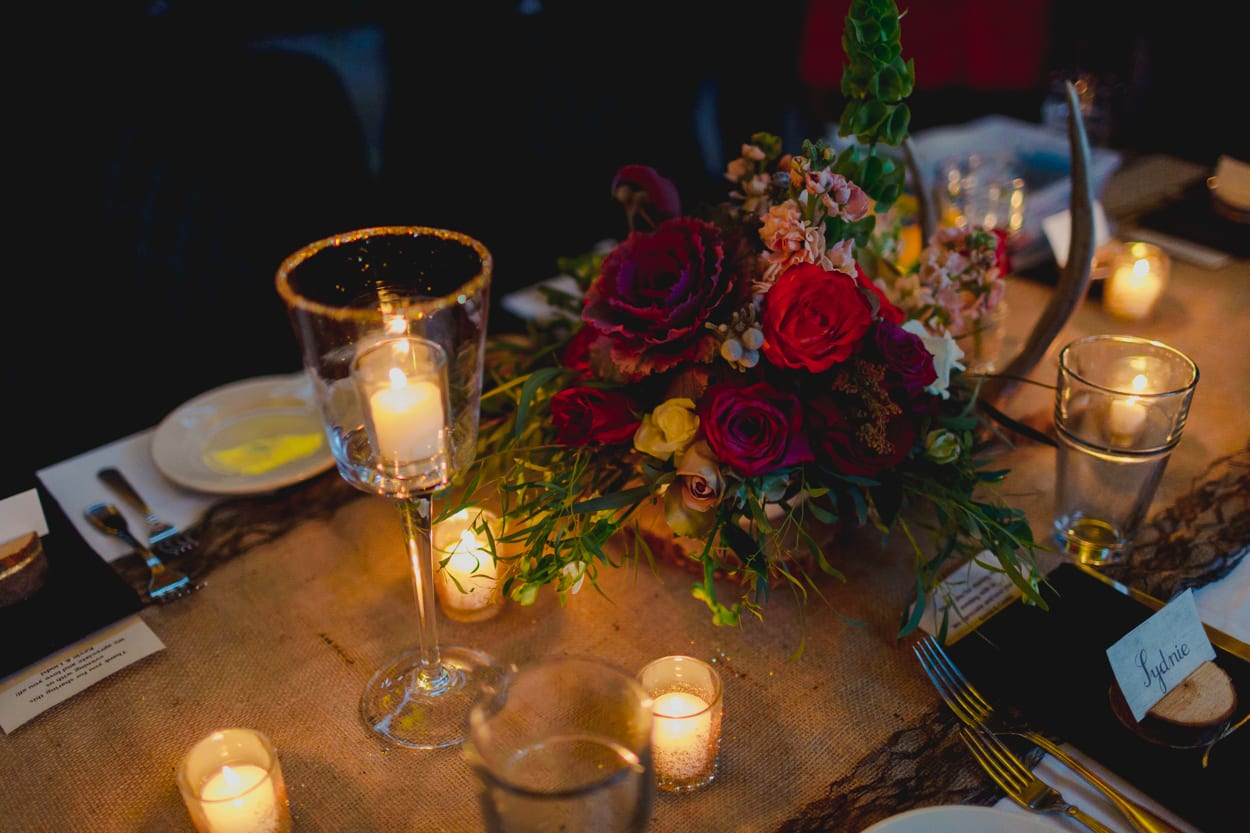
I highly recommend tea lights. They have a fairly long burn time (4.5 hours) which is the perfect amount of time for the greatest hits of your evening wedding (ceremony and dinner/speeches).
Here is a box of 250 that you can purchase for under $25!
Looking for a flameless option? Here is a fairly realistic bulk option for under $40!
Trying to stay away from Amazon.com; or interested in making your own candles? Let’s DIY it!
2. Understanding the Light: Keeping it Photojenic
This is a very common mistake that I have seen over the years (although I am weary to call it a mistake; because it by no way ruins anything). It is hard to balance the ambiance of a low light wedding, with the limitations it poses to your photographer or videographer. And since the couples that I work with just usually don’t spend nearly as much time thinking about what the lights doing like I do; here are some tips to help you have exactly what you want documented the way you envision it!
So how much light do I need, and how do I keep it moody and soft and beautiful while keeping it flattering in my photographs and comfortable for my guests?
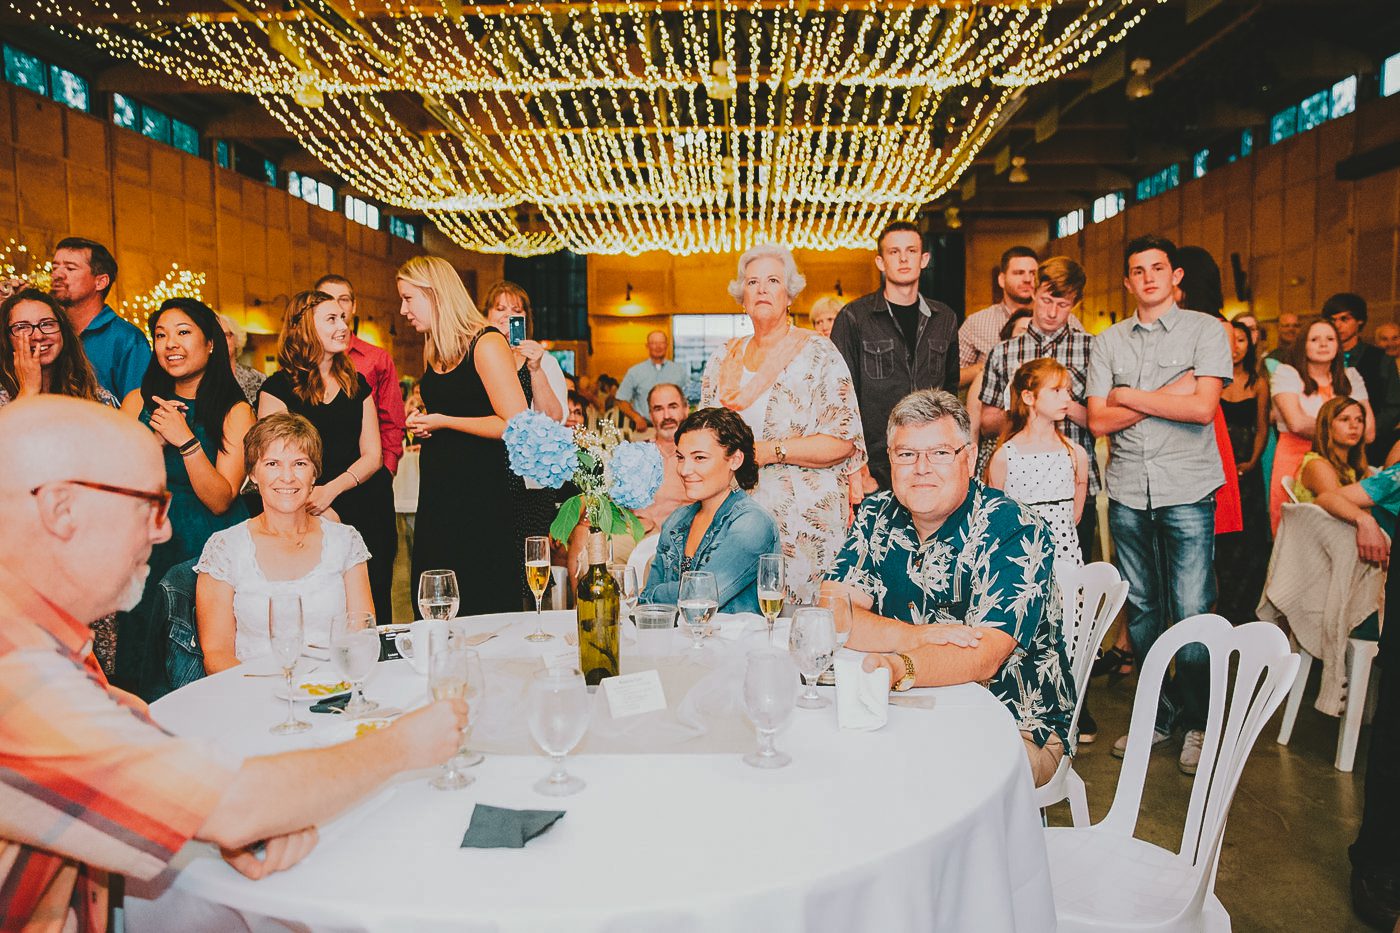
You don’t really need a whole lot of light; it just needs to be spaced evenly and reflected as much as possible. But what does that mean? All that means is that the more enclosed the space; and lighter the environment (like a light colored tent or a building with a short ceiling) the less added light will be required. Environments in an enclosed or light colored space are much more reflective; and the light that is used will be dispersed more evenly keeping it soft and natural and not harsh and blown out. If you have chosen a larger venue, or you have chosen to plan an outdoor evening wedding; then the more light you use the better. These spaces tend to ‘eat’ the light. Since there is nothing close for it to bounce off of, more will be required to give you the perfect glow. Some venues where you might find a need for more light are: Large Churches, Cathedrals, or Warehouses.
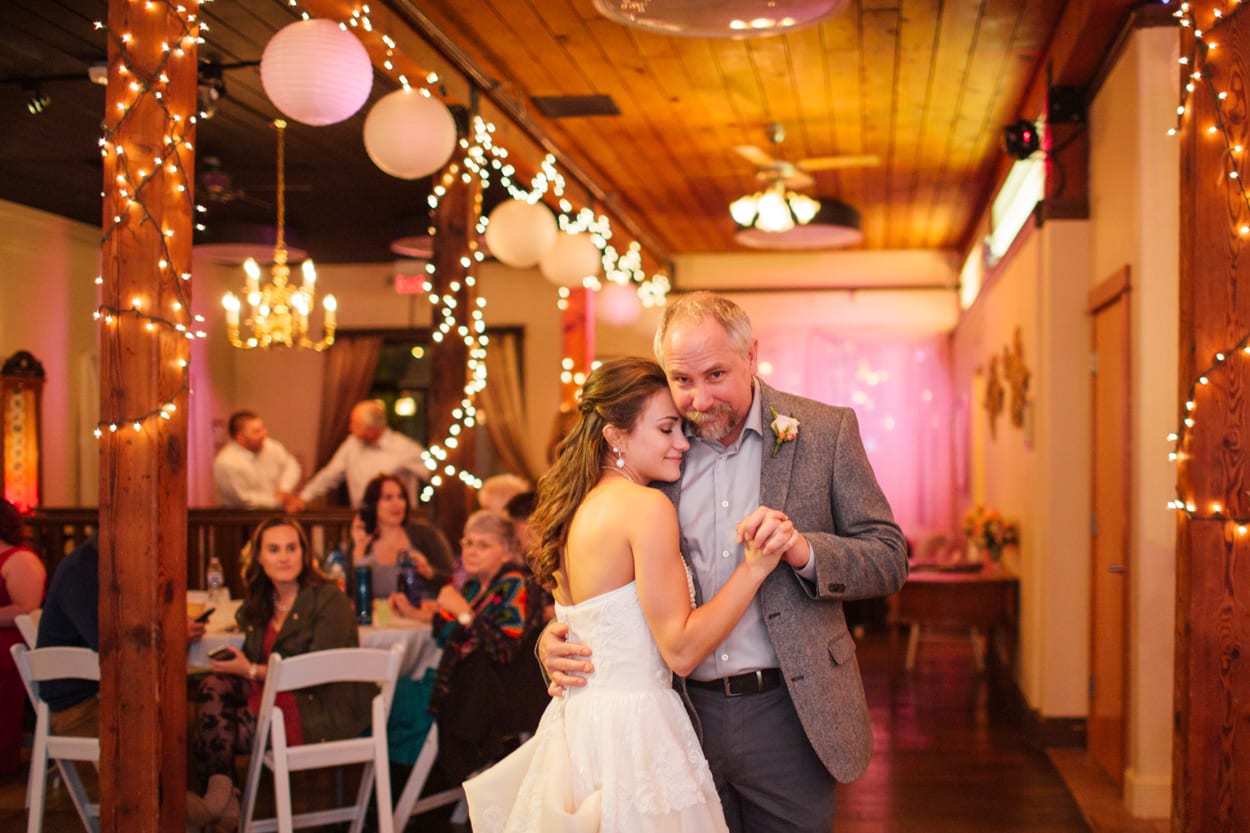
Regardless of the set up, your photographer may still need to utilize a flash, but by thinking about your spacing and type of lights you use, you are helping create an environment that can easily be documented. Since photography means to paint with light, the key to perfectly candle lit photos is to create enough ambient light that your photographer has enough information available for their equipment to record the image.
3. Placement
“Okay, I’m with you so far but what do you mean by evenly spaced?” It might be helpful to think of your venue as a grid. When you look at the space straight on from the back of the room you have three light zones to work with.
The top zone is the perfect area to add chandeliers, holiday lights (christmas lights), or dimmable ceiling lights. This light will be what illuminates you during the wedding. Without this light there will be room for potentially unflattering shadows in your photographs.
However, without any bottom light to meet it, the light will be eaten by the shadows by your feet. Candles provide the perfect solution to this issue (although I have recently seen weddings with holiday lights on the ground too and its super cute). Adding light at your feet adds a dramatic pop to the soft lighting from above, and evens out the light overall. Think of the top lights as making the wedding easier to photograph, and the candles being the dramatic, moody pops you are looking for.
The next step on your perfect lighting journey is to then space the lights so it is continuous throughout the whole space. Having light at the front of your ceremony scene (or alter) is beautiful for illuminating you and your spouse; but will make it hard to photograph any reactions of your guests. By adding lights to your aisle you are creating some added light to the space; making it easier to photograph with the mood you are trying to set and without ruining that mood with an overpowering flash.
4. Understanding there might be “Noise” in your Wedding Photos
Although camera equipment has come a LONG way since I started in 2010, the rules are still the same keeping the quality and image integrity in place while documenting a space with little naturally available light. The less light available the more natural grain your finished gallery will contain; the more light the more smooth and even your prints will appear.
I personally LOVE grain, or noise, when it pops up in photographs. I think it adds a beautiful texture to the scene and makes me feel nostalgia for the days when film photography was popular. However, too much noise can sometimes make it hard to print a hangable size; which is one reason it is so important to create a little ambient light for your photographer.
At the end of the day there really are no right answers! Your wedding will be beautiful and amazing and perfect because it’s the day you marry your best friend! But I hope these tips, from a photographer’s perspective, help give you the tools you need to bring your creative vision to life!
The advice doesn’t stop here; I am available to all of my couples ready and excited to offer creative input and advice to help bring your pinterest board a reality!